
For years, the dream of a robot-maintained garden was often crushed by a single, exhausting chore: the boundary wire. Many homeowners have spent entire bank holiday weekends on their hands and knees, pegging down miles of green wire only for a stray garden fork or a hungry fox to break the circuit weeks later.
The Worx Landroid Vision Cloud officially ends that era. Designed specifically for the homeowner who values their time, this mower replaces physical “fences” with advanced Vision AI.
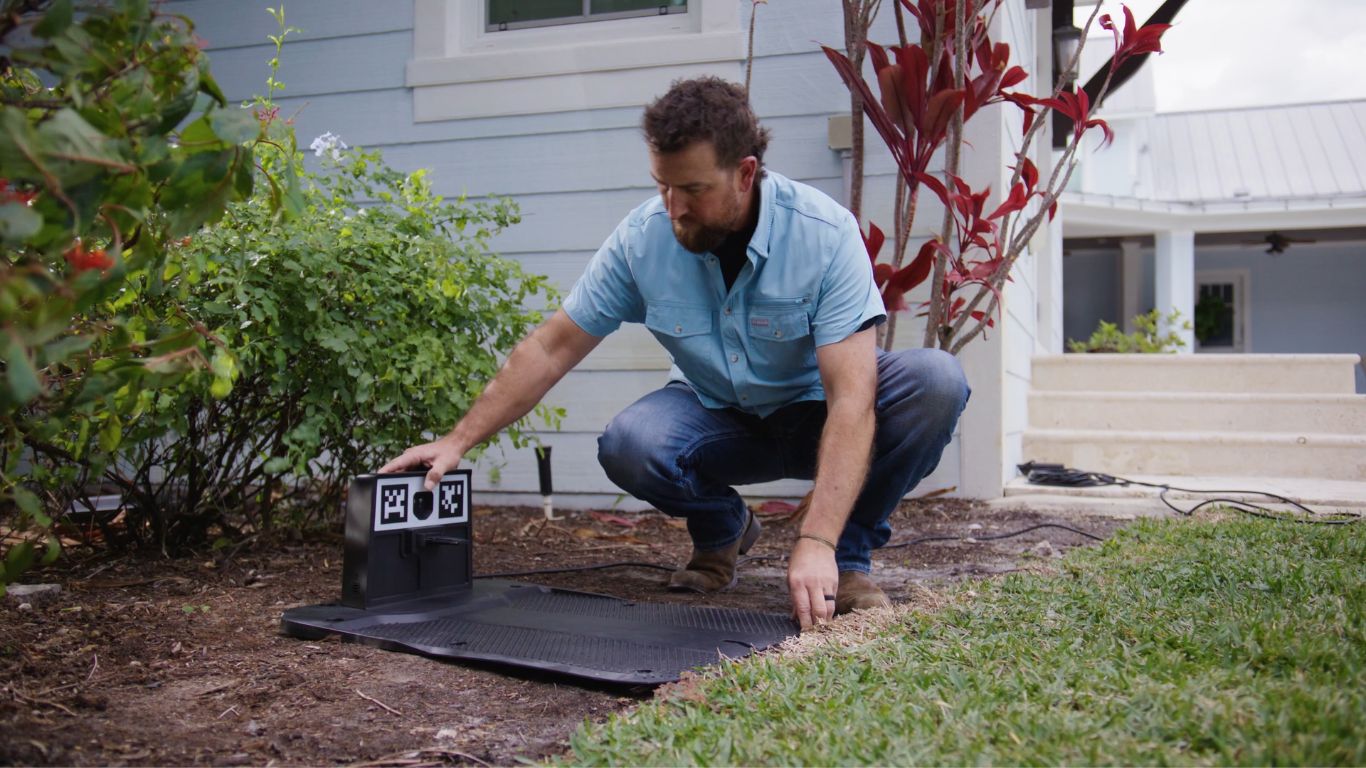
The “Zero-Stress” Installation Process
The beauty of the Vision Cloud is its “Unbox and Go” philosophy. Because it uses its eyes to map your lawn automatically with virtually no manual input, you can move from unboxing to mowing in record time.
If you want a step-by-step visual guide, you can follow along with the official Worx Landroid Vision Cloud Installation Video.
1. The Unboxing & Preparation
Take your Landroid out of the box where you will find the mower unit, the high-capacity battery, the charging station tower and base plate, power cord, lawn mounting screws, a hex key, and the manual.
Slide in the PowerShare battery. If you already own Worx cordless tools, you will recognise these—they are interchangeable across the entire range, from drills to leaf blowers. Before sending your Landroid out for its first run, give your lawn a quick pre-cut with your traditional push mower so the grass is shorter than 10 cm, and clear away any stray toys, stones, or loose cables.
2. The Charging Base
Locate a flat section of lawn near an outdoor power socket for the charging station. Use your phone to check that the spot has a strong, stable Wi-Fi connection. Interestingly, unlike older systems, the Vision Cloud station can even be placed under a roof or veranda where direct RTK Cloud signals are blocked, giving you much more flexibility.
Assemble the tower and base plate, ensure the ground doesn’t slope more than 5 degrees, and leave at least 2 metres of open space in front of the base so the mower can dock smoothly. Secure the base with the eight provided screws, plug it in, and wait for the satisfying solid green (power) and solid blue (Wi-Fi pairing) lights.
3. The App & Firmware Link
Download the Worx app onto your phone. Keep your mower parked on the station (ensure the battery is over 50%) and connect your phone to your home’s 2.4 GHz Wi-Fi network.
Turn on the mower, enter the default pin (0000), and pair it to the app by holding the start button for 5 seconds and scanning the QR code under the battery cover. Once connected, the app will prompt you to run a quick 10-to-15-minute firmware update. When both lights on the charging tower turn green, your Vision AI is officially ready to think, see, and map.
4. Auto-Mapping (And Handling Tricky Layouts)
Simply open the app and tap ‘Create Map’. The Vision AI will automatically drive out, identify the edges of your grass, distinguish between turf and patio, and trace your boundary.
• Top Tip for Complex Gardens: If your charging station is placed slightly off the grass on a patio, or if the mower gets confused by a specific obstacle, you can seamlessly toggle into ‘Manual Mapping’ mode in the app to guide it using your phone controls, before switching back to automatic mode once it’s back on track.
Advanced Zone Management: Multi-Zone & No-Go Areas
What happens if you have a delicate flower bed in the middle of your lawn or multiple separate patches of grass? The Vision Cloud handles this effortlessly without a single centimetre of wire:
• No-Go Zones: If you have a temporary feature or a delicate flower island, use the manual controls in the app to drive the mower to the edge of the area, select ‘No-Go Zone’, and steer it clockwise around the perimeter to create an instant digital exclusion zone.
• Multi-Zone Mapping: If your garden is split into different sections, you can create a digital ‘Path’ in the app. Manually drive the Landroid through the connecting passage or gate into the next lawn area, tap ‘Done’, and then let the automatic mapping take over for the new zone.
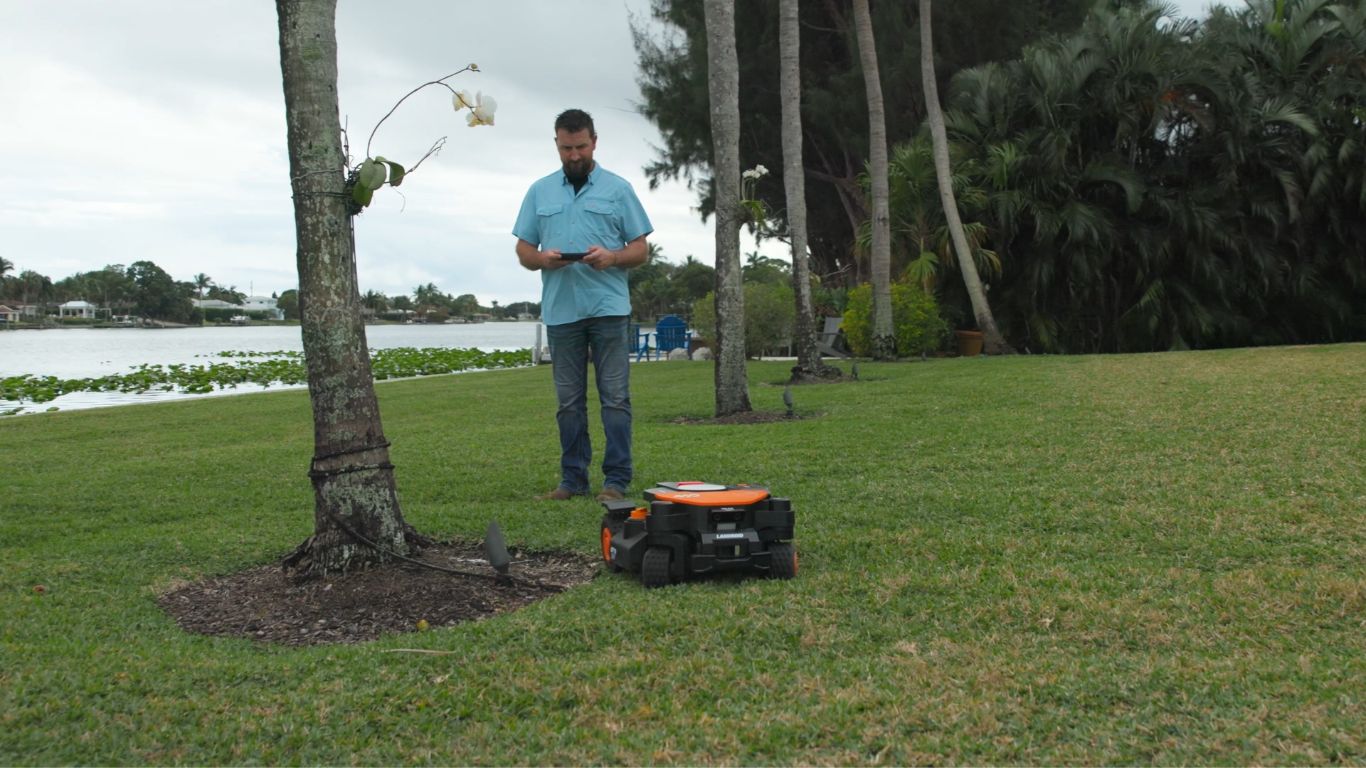
Why “Auto-Mapping” Changes Everything
Traditional robotic mowers require you to physically lay peg boundaries or drive them like a tedious remote-control car to “teach” them a map. The Vision Cloud, however, uses stereo-vision AI to explore the perimeter, using advanced depth perception to understand the shape of your lawn and identify borders in real-time.
Once your map is locked in, you have total control over the finish of your garden. You can activate ‘Smart Trim’ so the AI automatically decides how closely to cut right up to your edges. You can even customise your cutting pattern—choose a natural finish with random mowing, or select a pristine look with clean, adjustable-angle stripes. For larger models, you can even alter the cutting height directly inside the app.
The best part? If you change your garden layout next summer by removing a bush or putting in a new patio, you don’t need to dig anything up. Just tap ‘Map Edit’, modify the specific section, and your Landroid updates its virtual map instantly.
The result of this sophisticated technology is remarkably simple: once you press start, you can put the kettle on and relax. Your Worx Landroid Vision Cloud is already at work, mapping and manicuring your lawn without a single wire in sight.